About the changes to the D7 Firmware
My favorite alternative to a dedicated computer for slicing is to use a RaspberryPi3 and a program called nanoDLP. Please note that nanoDLP prefers that the motion control firmware on the D7 reports back when a move is completed. As of the time of this writing, the stock supplied firmware on the D7 does not provide the acknowledgement that nanoDLP is looking for. An updated firmware based on the latest Repetier firmware has been specifically modified and tested with the D7.
You will need to download and install the updated firmware to use with Nanodlp. Alternate Duplicator 7 firmware for use with nanoDLP and is backwards compatible with the original is currently Repetier D7 NanoDLP v1.3. The github source is here in the develop branch and is based on the latest develop branch of Repetier. Make sure you use the “Development” branch if you are compiling from source.
- In addition to supporting functions required for nanoDLP , this adds soft axis limits, EEPROM configuration via gcode for acceleration and speeds, and also with v1.3 allows the second 12V MOSFET controlled output to be controlled via M106 P1 SXX commands. This will turn on the second fan automatically when the UV is first turned on then will stay on until you issue M107 P1 (which can be added to the Print Complete gcode section). If you would like your fan to run all the time then add M106 P1 S255 to the nanodlp boot gcode section (which I have already done if you are using the latest nanodlp SD card image from this site).
- We removed the z_move_comp messages from every command except movement commands so the resin profiles will need to have the [[WaitForDoneMessage]] tags removed from everywhere except after the G1 Zxxx and G28 P1 commands.
If you find the Z doesn’t move down but will move up then you need to switch your ZMin cable to the ZMax position or download this alternate firmware that flips them back in code. Refer to this page on instructions on how to upload new firmware, alternatively you can compile the firmware from source using Arduino IDE and upload through there
There are now three ways to easily upload the modified D7 firmware.
Choose one of the firmware upload methods below.
- The XLoader method is the simplest if you have a Window PC
- You can try Hex Uploader for the Mac.
- Cura can be used on Mac and Windows but will need a little setup.
Updating the D7 Firmware using Hex Uploader on a Mac
- Download the Hex Uploader app from here. Hex Uploader is a GUI frontend for the AVRDUDE programmer so you will still need that (from Arduino IDE install or similar Atmel cross compiler package).
- Download the D7 firmware for NanoDLP
- Connect the D7’s USB cable to the Mac and turn on the D7.
- Run the Hex Loader app. If you have a warning about opening the unsigned app and do not have the option to open anyways then right-click on the app and select Open then you will have the option to Open after the warning).
- Select the Arduino Type “Mega – ATmega2560“
- Select the Serial Port that the D7 has been assigned and change the Baud Rate to 115200
- Click the Upload a Hex File button then select the Hex file that was downloaded in step 2.
- Wait for the firmware upload to finish. The D7 will then reboot.
Updating the D7 Firmware using XLoader on a PC
- Watch the video from Evan Morgan below from the 2:32 minute mark for an overview of uploading the firmware with XLoader.
- Download XLoader from http://xloader.russemotto.com
- Download the D7 firmware for NanoDLP
- Connect the D7’s USB cable to your PC and note the Com Port# is it using.
- Start XLoader
- Select the Device “MEGA/ATMEGA2560“
- Select the file that was downloaded in step 2
- Select the COM Port that the D7 has been assigned and change the Baudrate to 115200
- Click the XLoader’s Upload button and wait for the firmware upload to finish. The D7 will then reboot.
Updating the D7 Firmware using Cura
- Choose your firmware version and download and extract the firmware hex file from the archive
- Choose the install method (using Cura or through the Arduino IDE). If you use the IDE you will need to compile the source from GitHub.
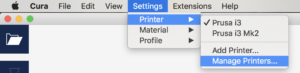
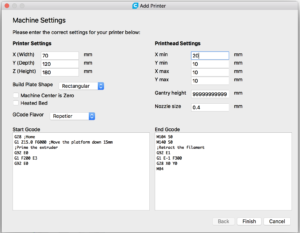
- In Cura, create a new Machine for the D7. Select Settings->Printer->Manage Printers
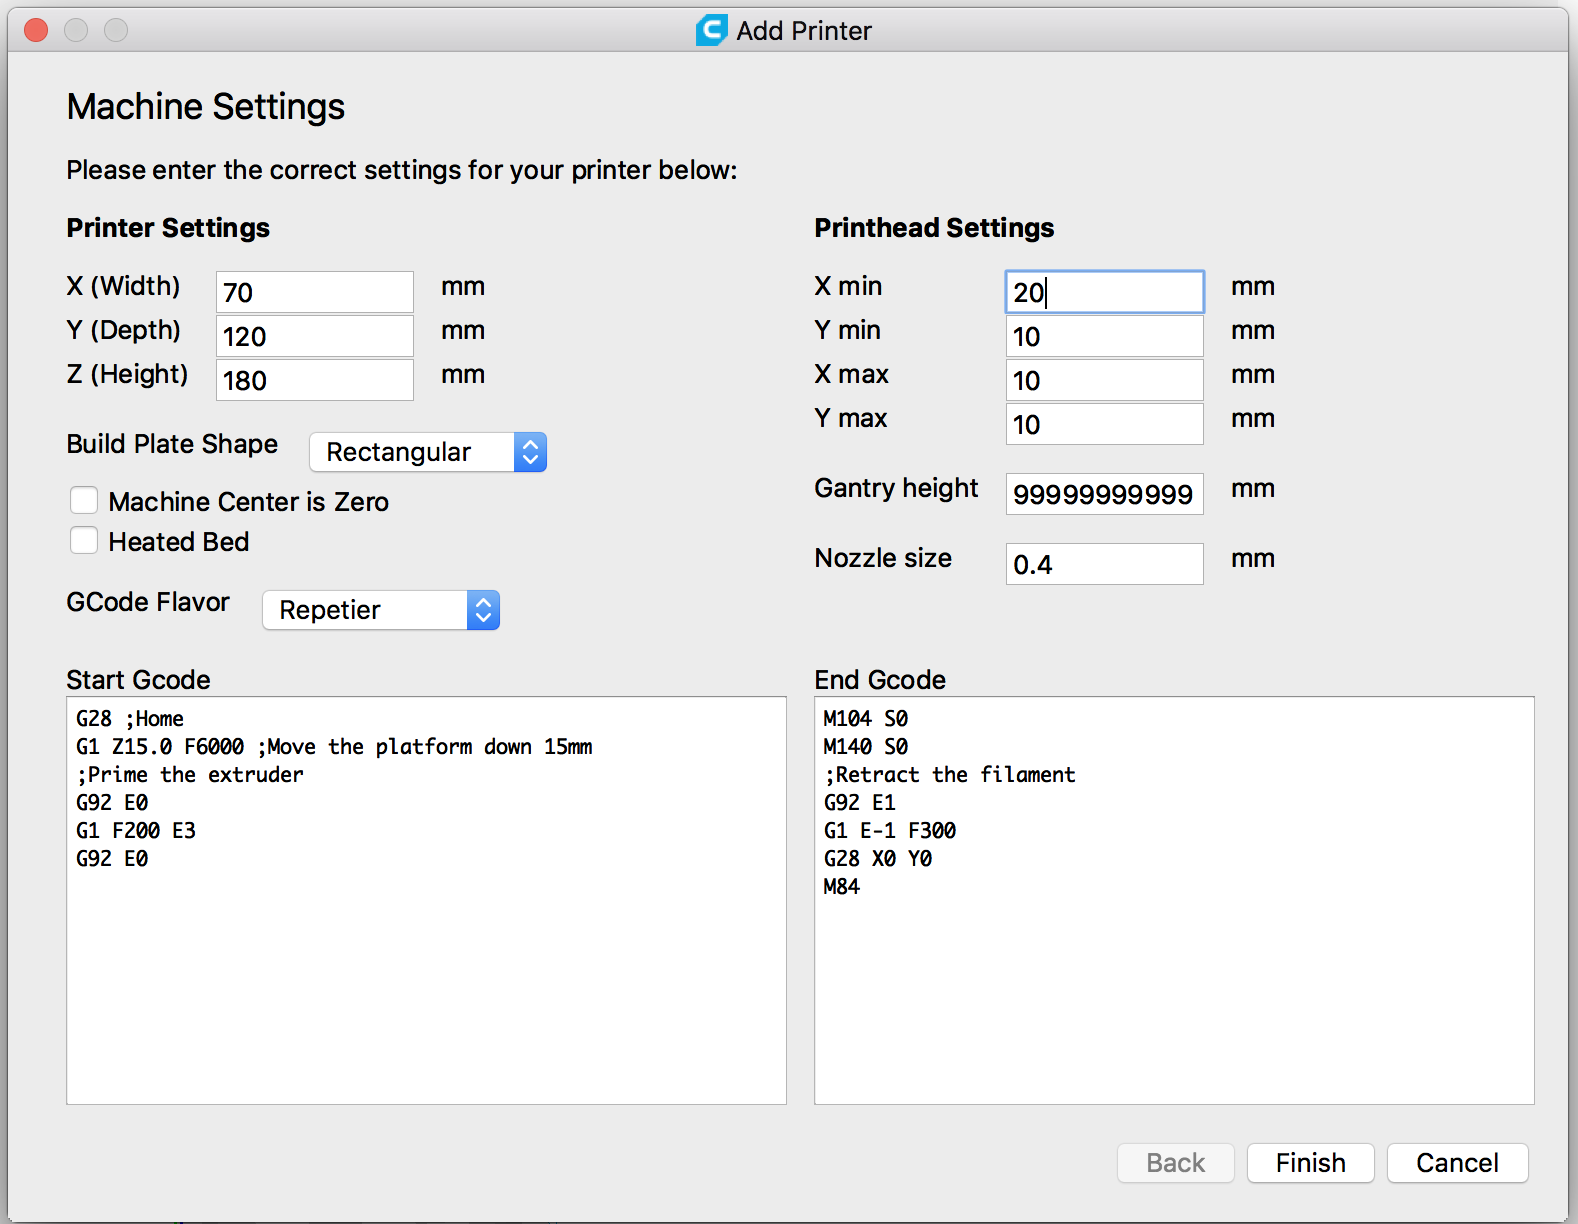
- Click on Add then select Custom FDM Printer.

- Fill out the basic information then Save.
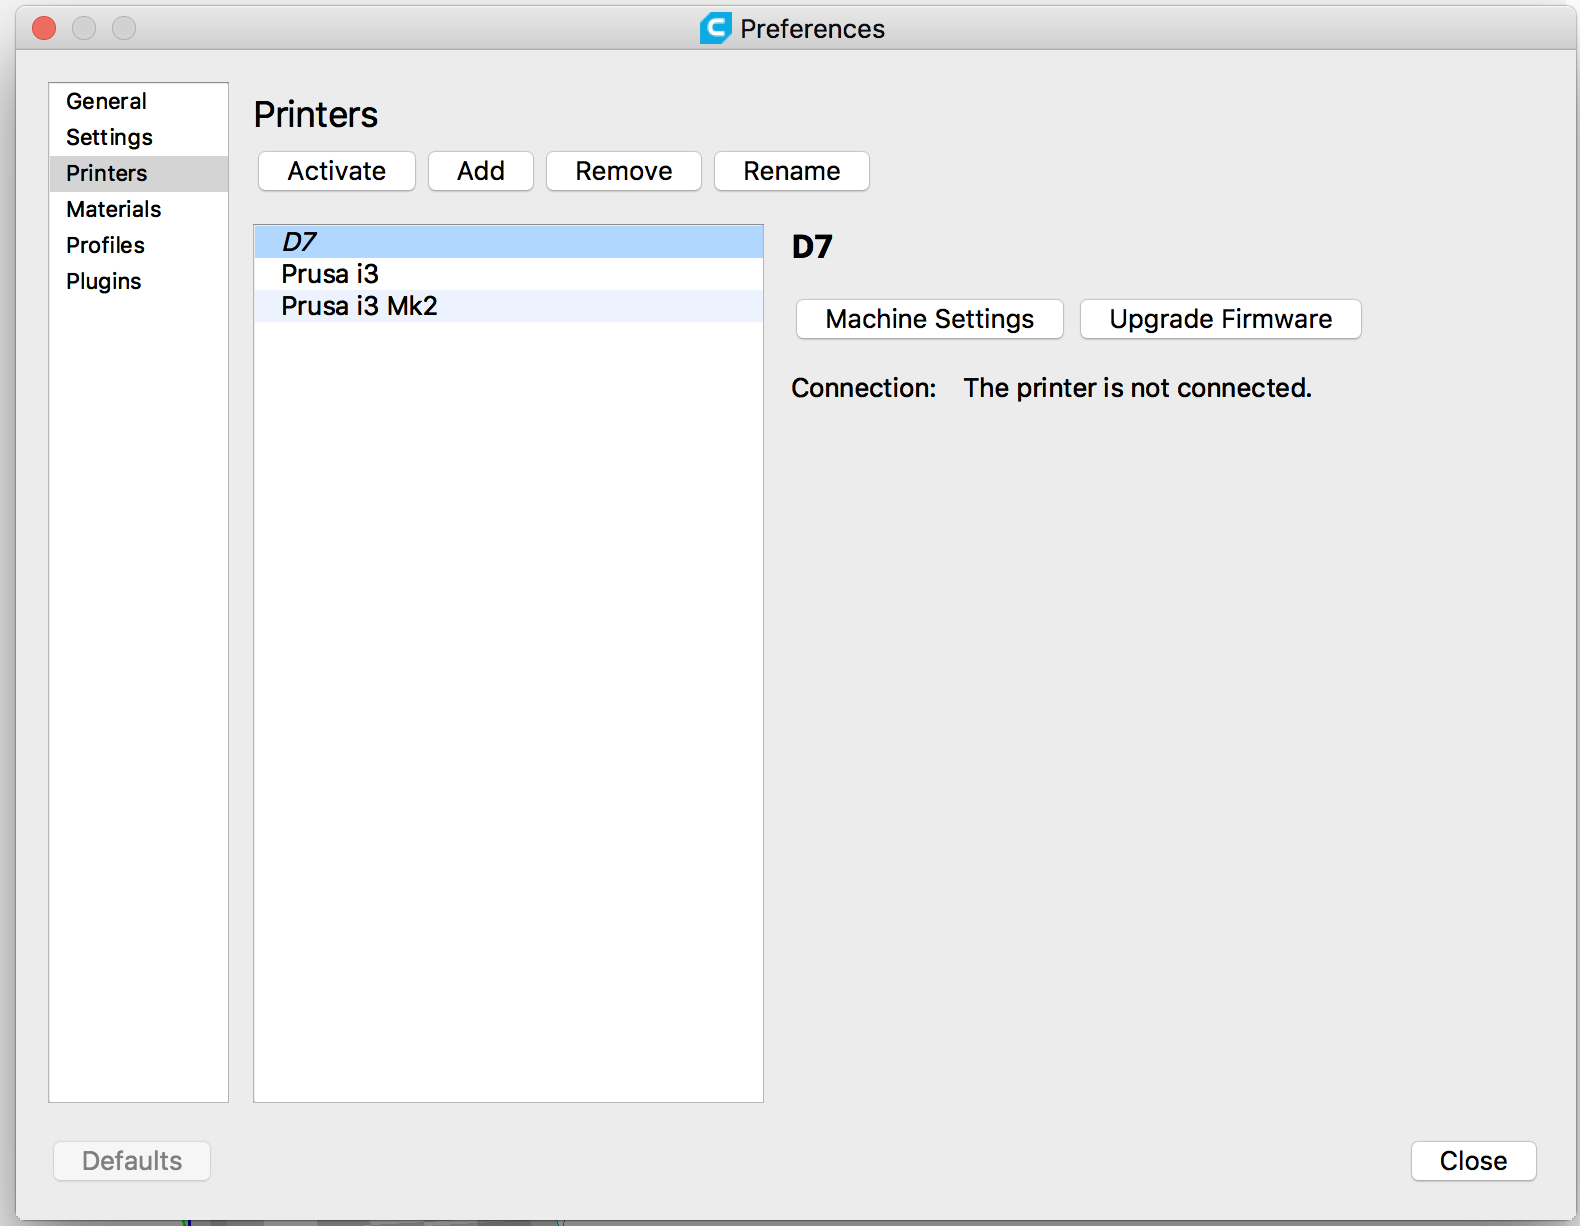
- On the right hand side of Cura it will show not connected. Plug the D7 into the computer and it should then show connected via USB with a green checkmark.
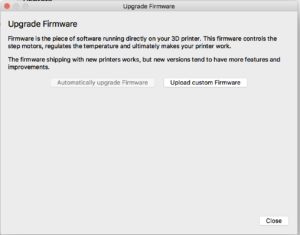
- Back on the Manage Printers screen select the Update Firmware button then choose Upload Custom Firmware and browse for the new firmware hex file.