
Description
If you are going to be using a RaspberryPi with Nanodlp installed then this mod may be handy. You can add a 16×2 LCD (I2C protocol) to the pi and then configure Nanodlp to use the LCD and it will display it’s IP Address and also the print status (current layer and total layers). Here is an example of the LCD showing the current IP Address:
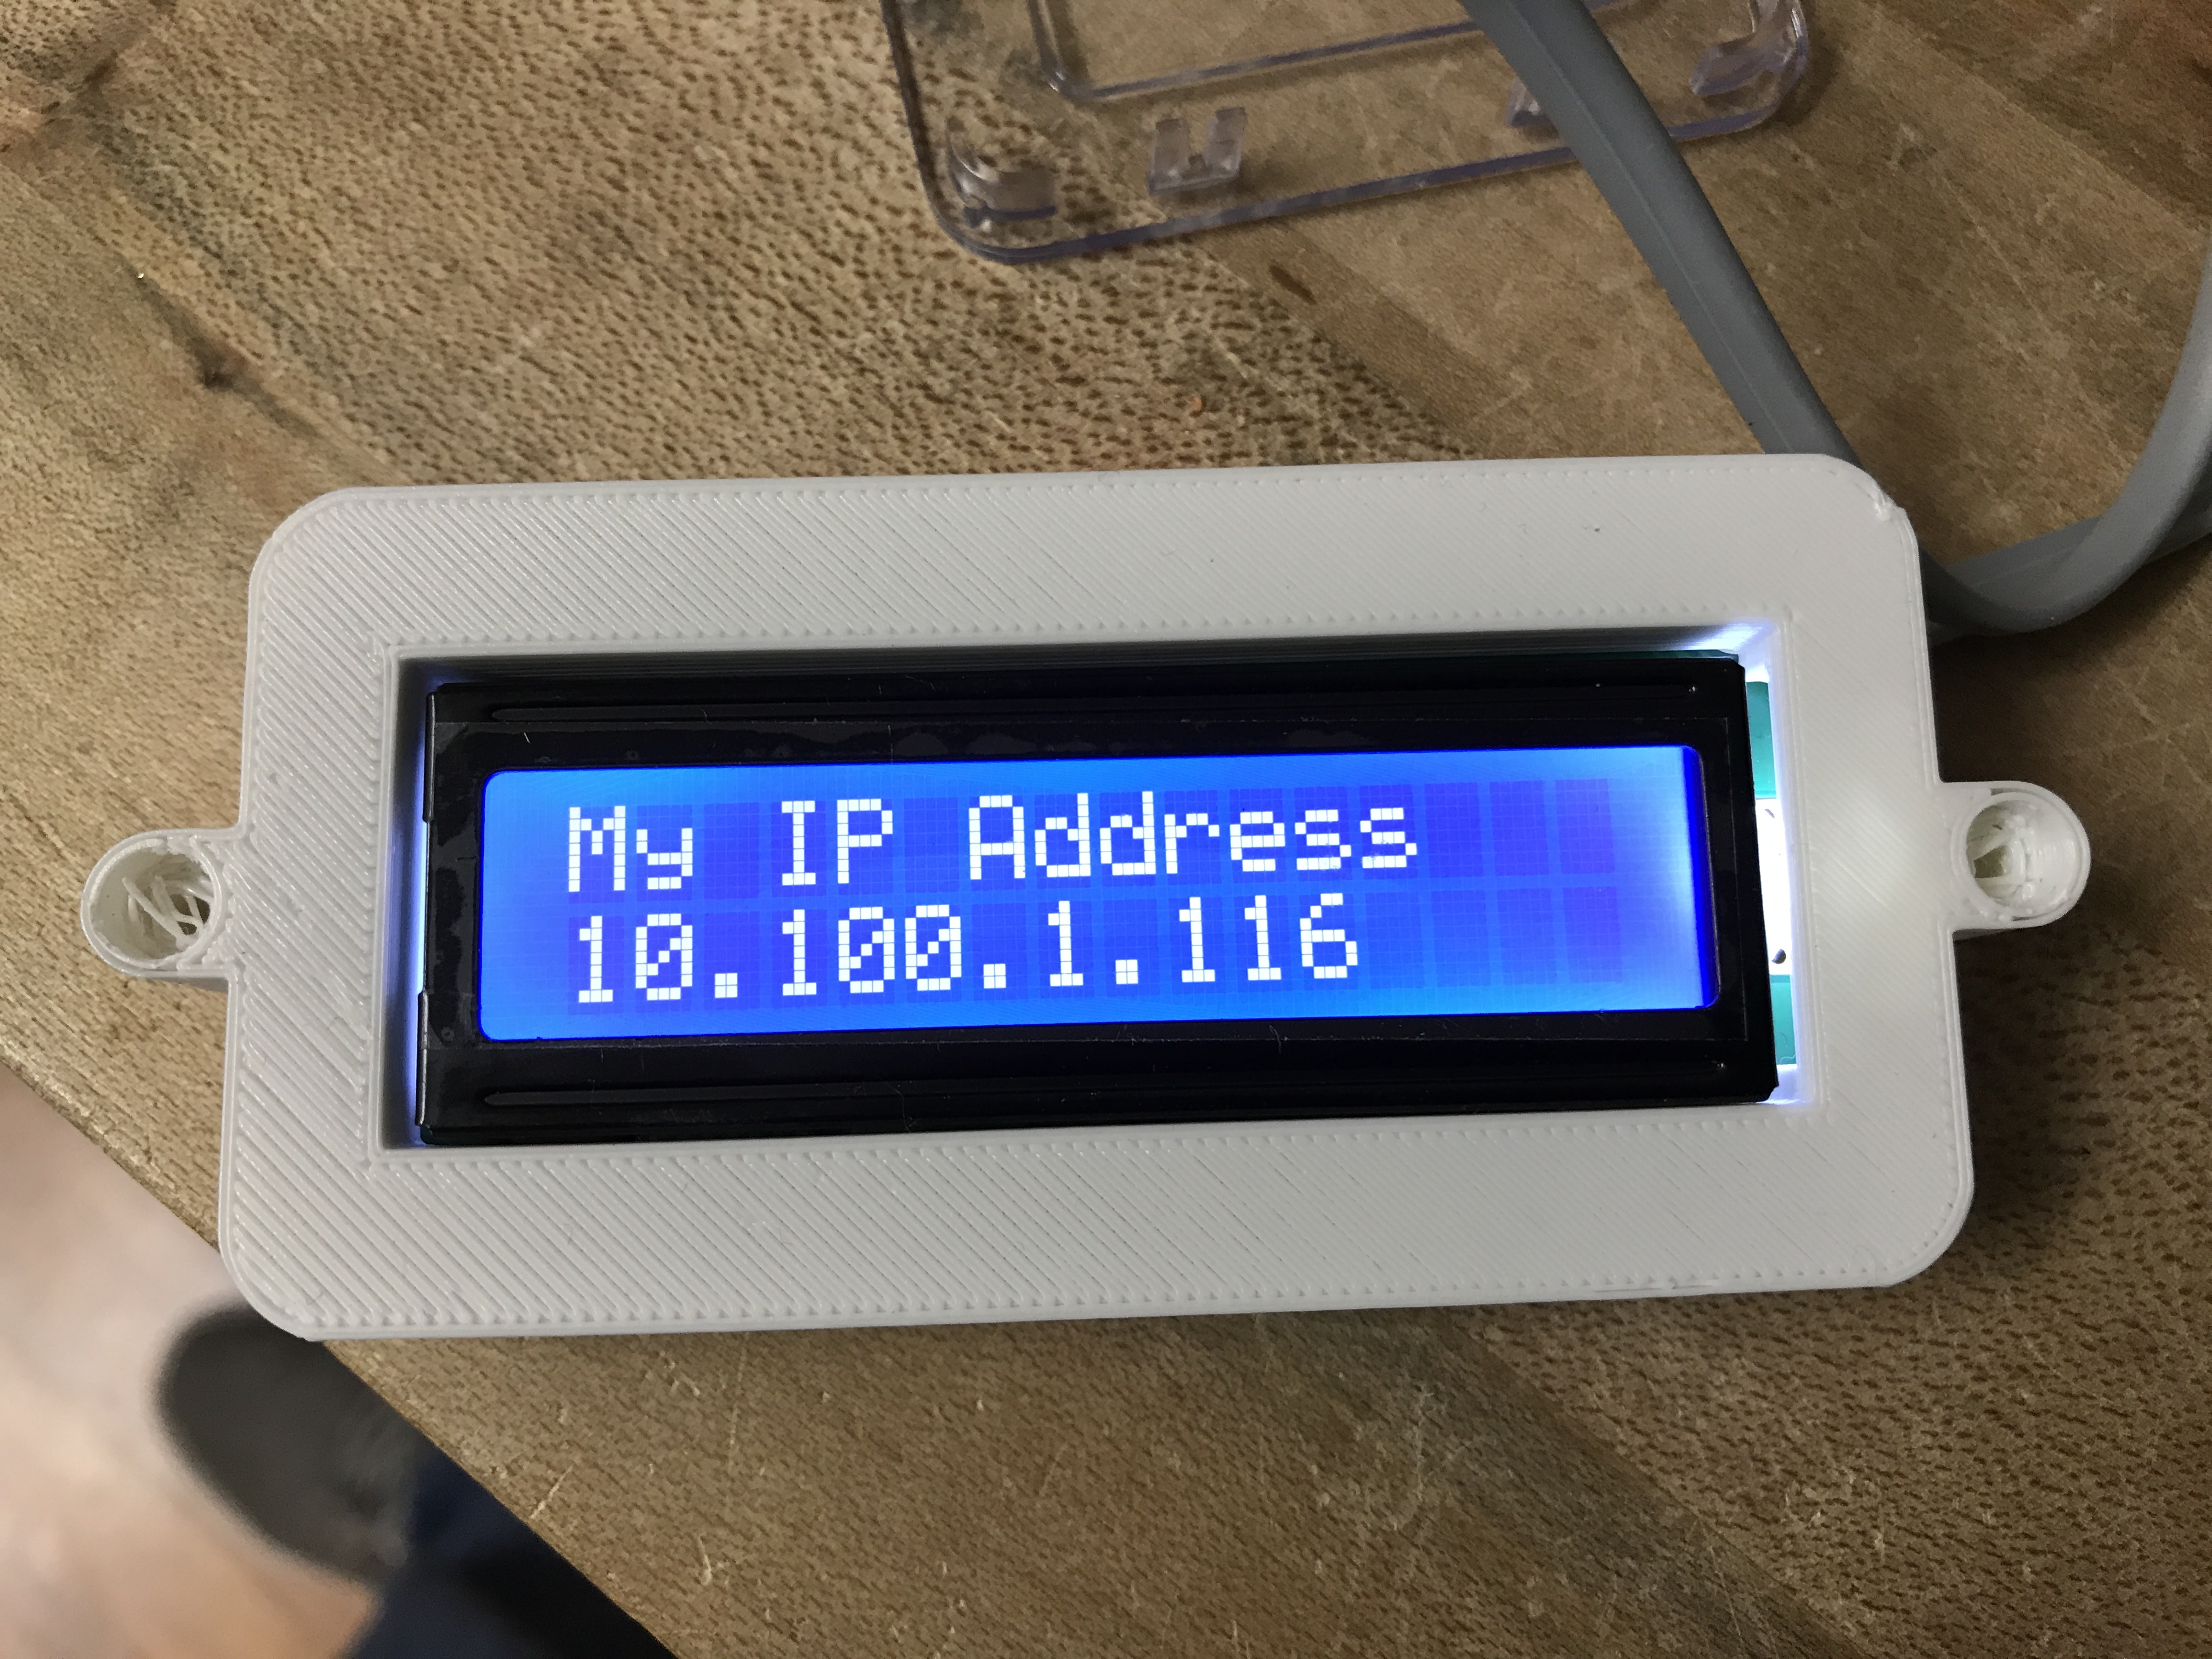
Nanodlp LCD
Required Parts
- Raspberry Pi3 with the Nanoslp image installed. Here are a few options available on Amazon. I prefer the kit that comes with the power supply and case since it is only about $10 more than buying the pi3 by itself.
- 16×2 LCD that uses I2C protocol. Here are a couple of ones from Amazon that are known to work
- SD Card to boot from and store the slices (all the STL’s and Sliced data will be stored here). I recommend at least a 16gb.
And either pre-made wires
Or make your own (list below)
- Wire (need four conductor or four individual strands)
- Female sockets
- Soldering Iron
- Solder
- Wire Cutters
One of these Printed Parts
- 16×2 LCD Stand
- General 16×2 LCD Mount (make sure you use the Reworked Back)
- LCD Stand
- Alternative printed front housing with LCD bezel
Installation
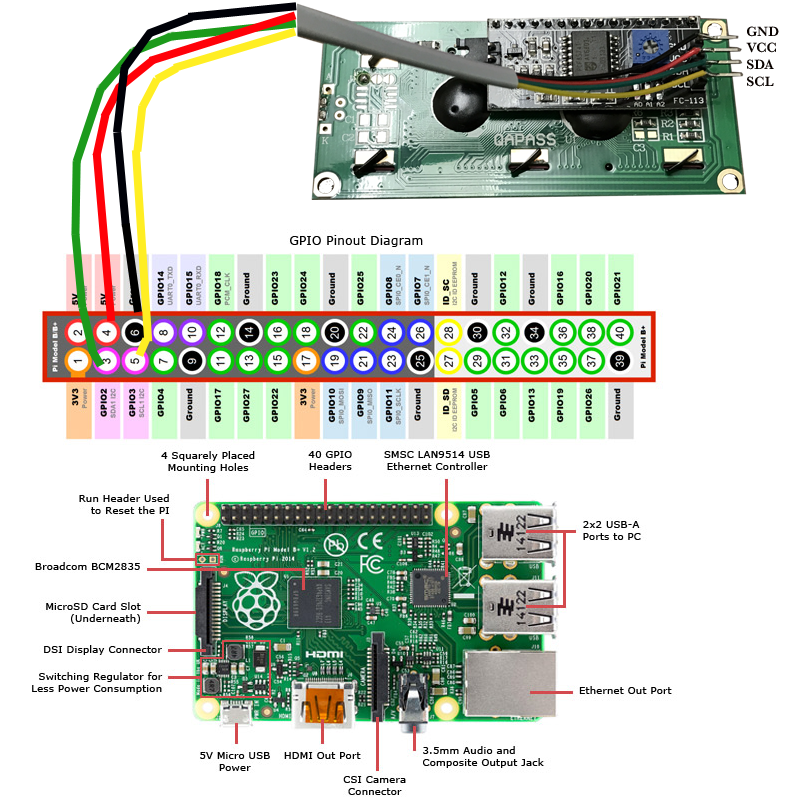
You will need one of the 16×2 LCD’s that support the I2C protocol (they are the ones with the “backpack” board on the backside), see one of the links from amazon or search for them on eBay or other sites. I have linked a few enclosures that you can print to house the LCD. The pins on the LCD are male and the pins on the Pi3 are male so you will need four female to female wires (links above) or make your own. Since I have everything I need and have done this before I made my own and soldered one end onto the LCD pins.
Here is how I connected my wires to the LCD and Pi3. If you use the pre-made female-female wires then you will just push them onto the pins on the LCD and Pi GPIO connector.

LCD Pins
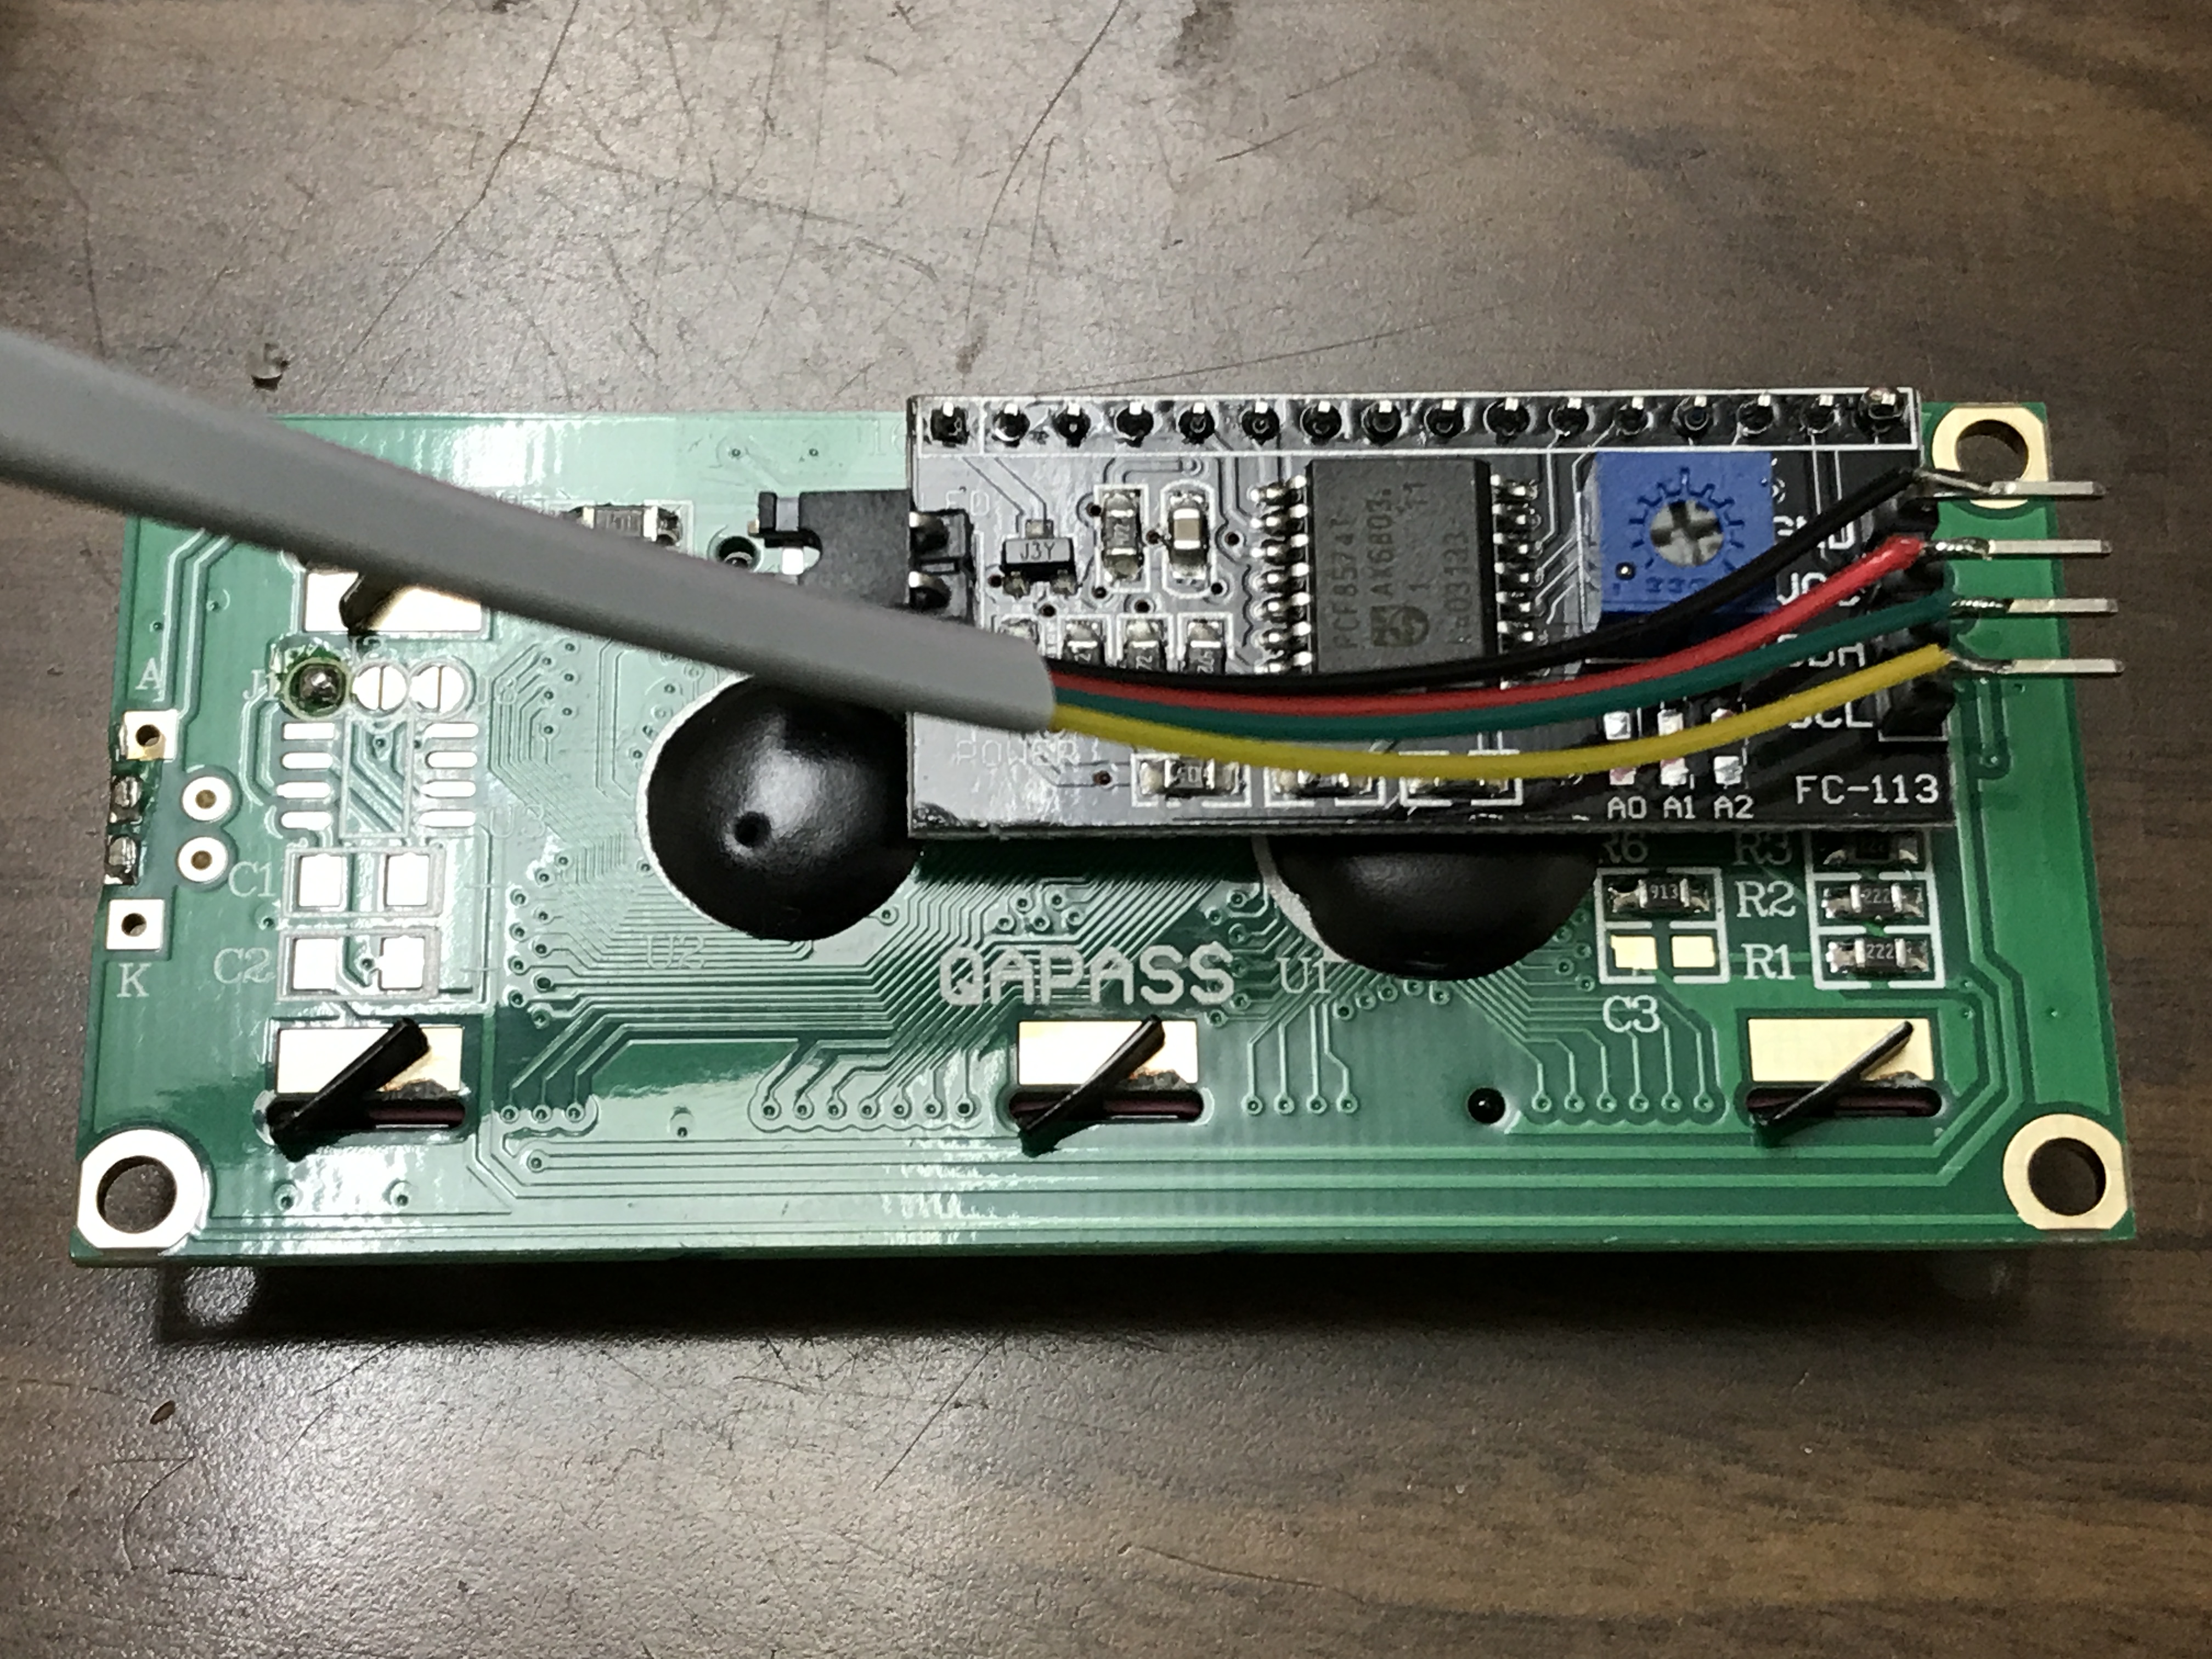
LCD Pins
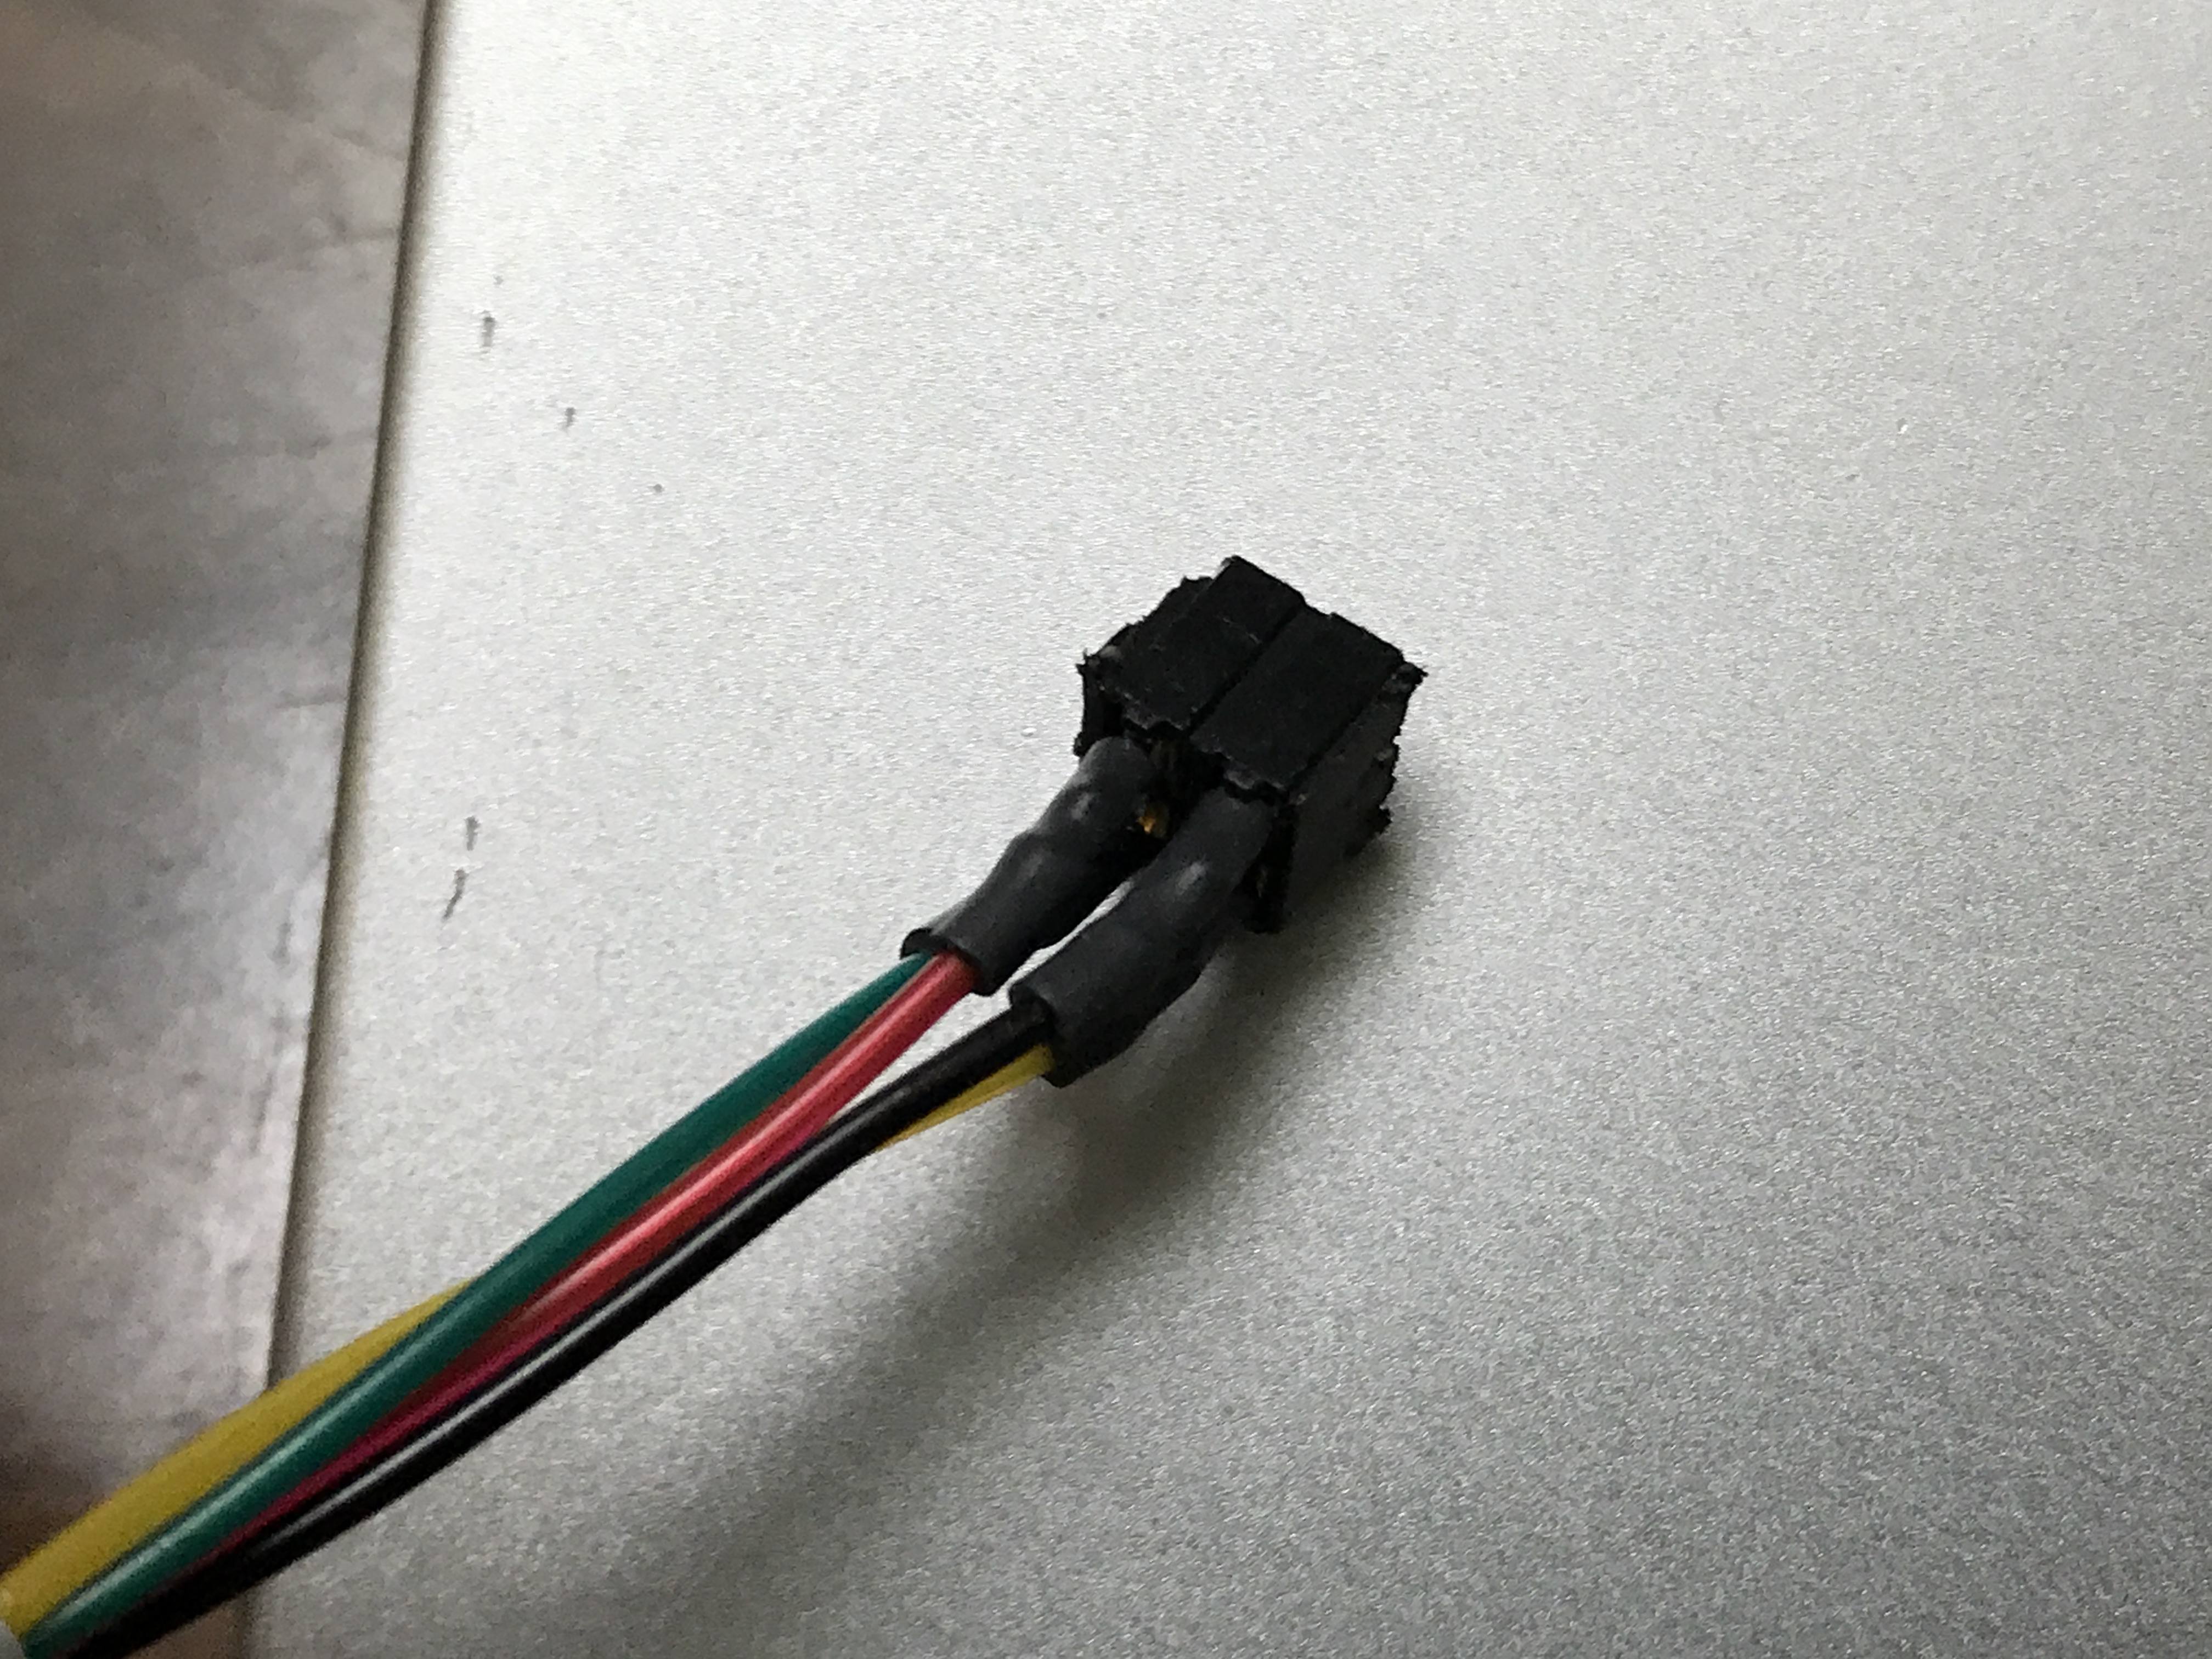
LCD Wire Connector
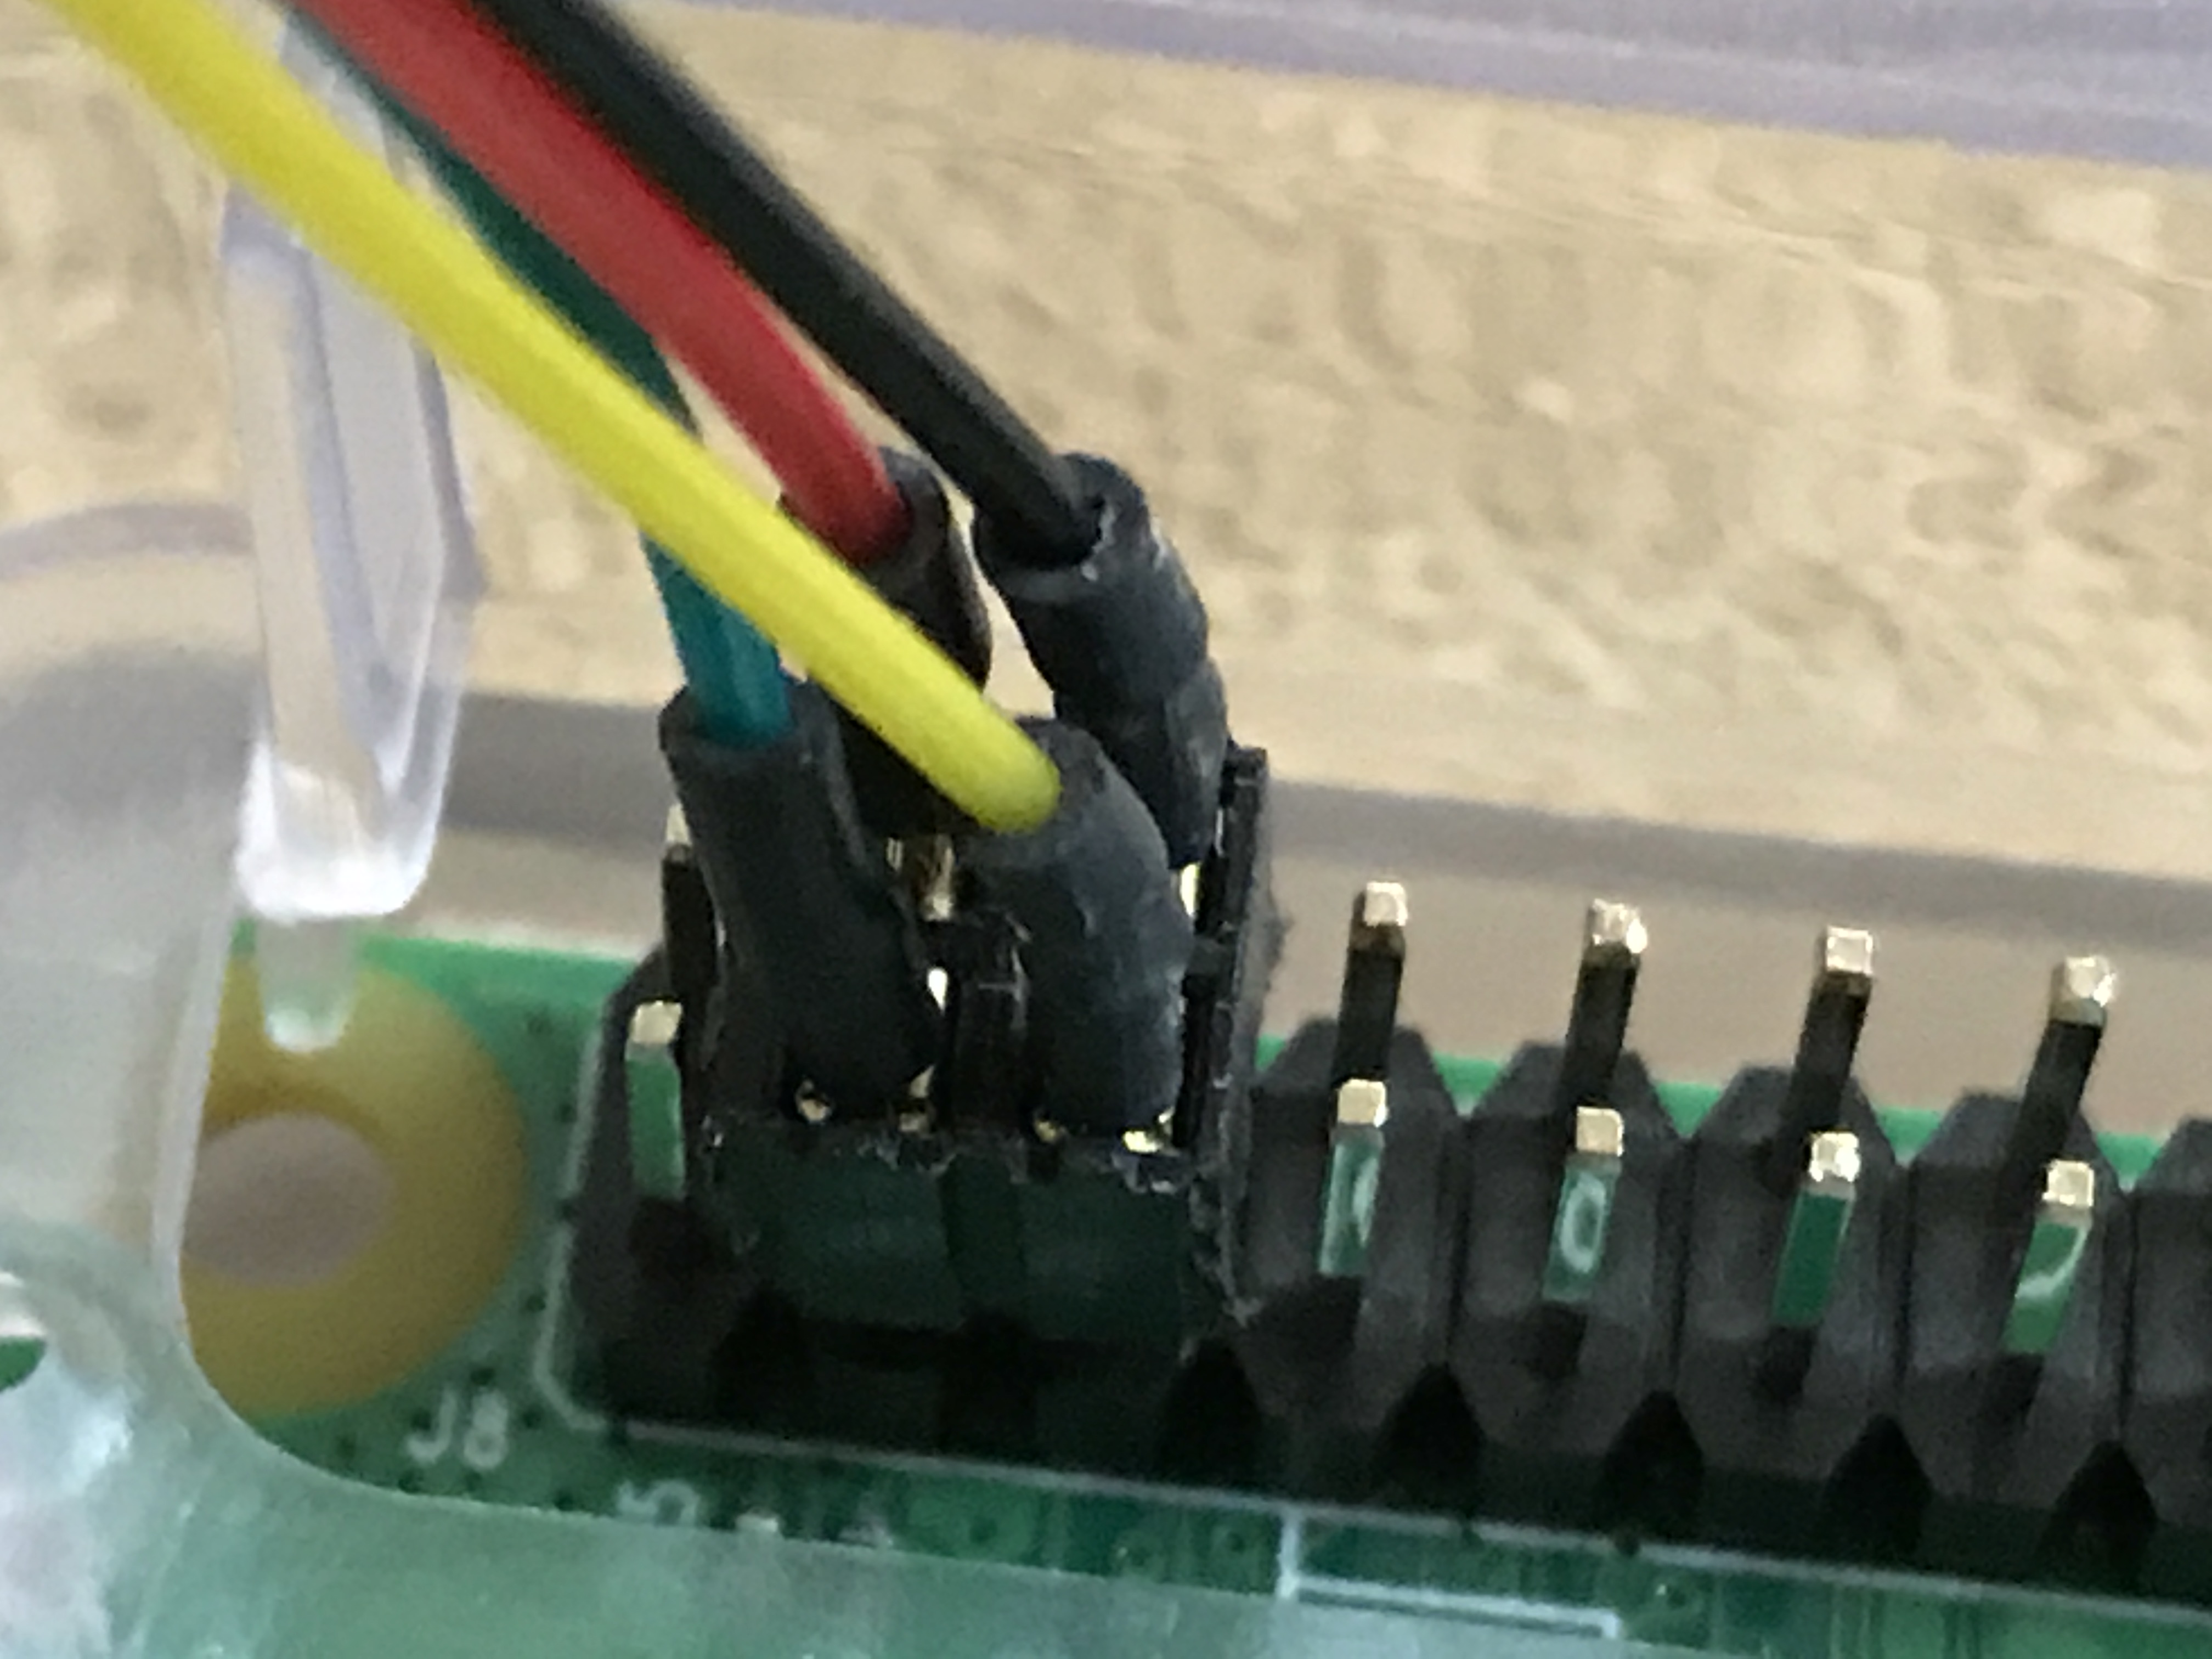
I2C and Power Pins
The LCD will be connected to the Pi3 using table and drawing:
[table id=2 /]
LCD to Pi Wiring
The LCD should light up when the pi3 is turned on, if it does not then double check the wiring. The screen will not display anything until nanodlp is configured with the LCD settings. You will need to know the I2C address the LCD is using and that will sometimes be printed on the back of the LCD or on the website where you purchased it. The standard address seems to be 0x27. If for some reason you do not know the address there is a way to find it by ssh’ing into the pi and running a command to discover the LCD address. The nanodlp image on this website should have the LCD tools installed already. Follow the instructions on this RaspberryPi site to install the tools and find the LCD address. What ever the LCD address is, you will enter the Decimal equivalent of it on the nanodlp setup page (the address is typically shown in HEX). Here is the typical setting for the LCD. Once you make this change in nanodlp you will need to restart the pi:

Nanodlp LCD Settings
Troubleshooting
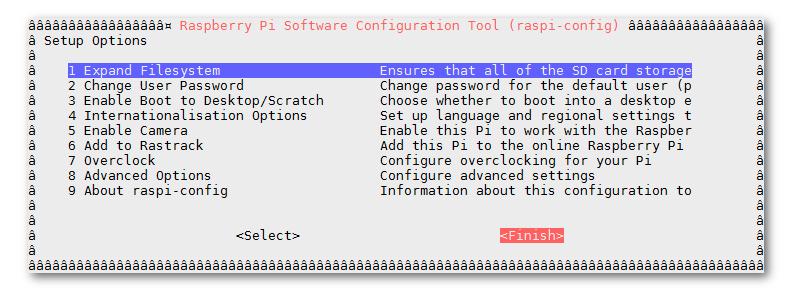
If for any reason the i2c tools do not see the lcd make sure the kernel has the i2c support enabled using the sudo raspi-config command:
Raspberrypi i2c Settings
Now complete the following steps :
- Select “Advanced Options”
- Select “I2C”
The screen will ask if you want the ARM I2C interface to be enabled :
- Select “Yes”
- Select “Ok”
- Select “Finish” to return to the command line
When you next reboot the I2C module will be loaded.
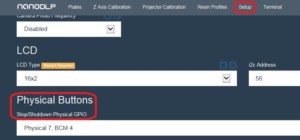
You can also repurpose the front panel button on the D7 to be a manual shutdown button. It is better to have a momentary contact style switch for this purpose rather than the stock latching version, but you can modify the existing switch or just use it as is.
The button is configured to be a normally open switch and connects between ground and a GPIO on the Raspberry Pi. The GPIO pin configuration is chosen as part of setup of nanodlp.
Another optional step, I used this guide https://howchoo.com/g/ytzjyzy4m2e/build-a-simple-raspberry-pi-led-power-status-indicator to connect the LED inside the power button to the unused serial port on the Raspberry pi to indicate when it is safe to remove main input power since the button is now used to command a manual shutdown.