
Bearing Block Mod
This modification applies to all versions of the Duplicator i3. Performing this mod may void your warranty. Proceed at your own risk.
Description
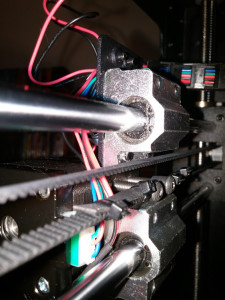
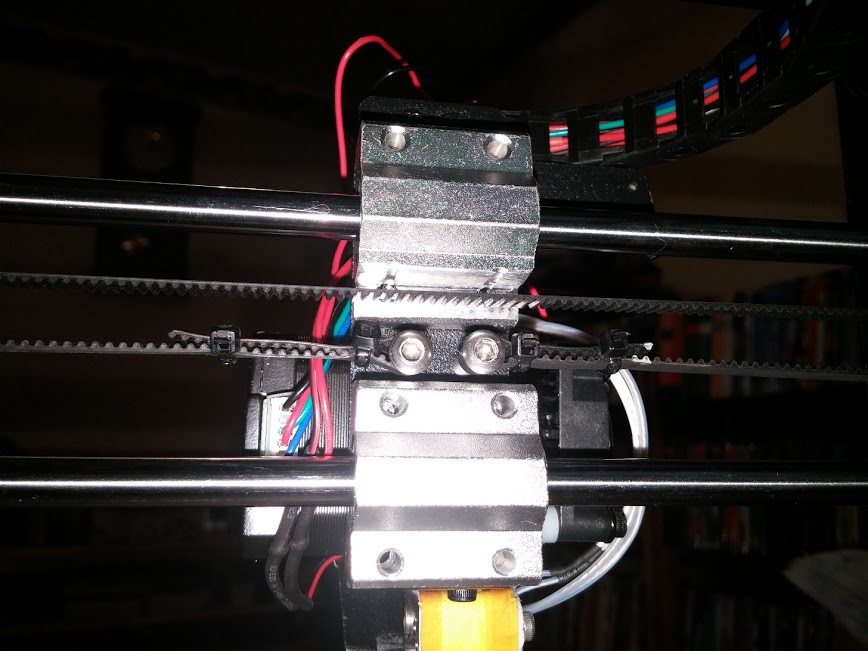
The Duplicator i3’s design causes te top loop of the X-axis belt to rub against the top X axis bearing blocks. This can cause premature wear to the belt and impact print quality by restricting the movement of the X axis.
Process
- Remove the top bearing blocks following these instructions.
- Remove one of the belt screws to free the X axis belt.
- Loosen the set screws securing the X axis rods.
- Slide both rods to either the left or the right until they clear the cap.
- Remove the four screws above the extruder motor that attaches the extruder assembly to the upper bearing blocks. Be careful not to let the extruder assembly fall and become damaged.
- Swing the free end of the X rods toward the back of the printer and slide the top bearing blocks off the rod.
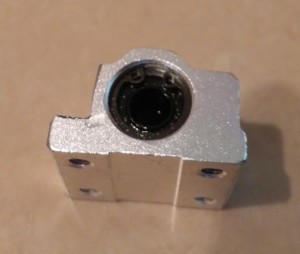
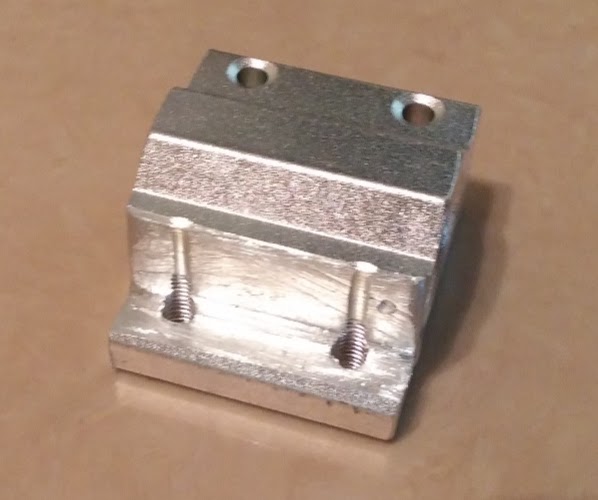
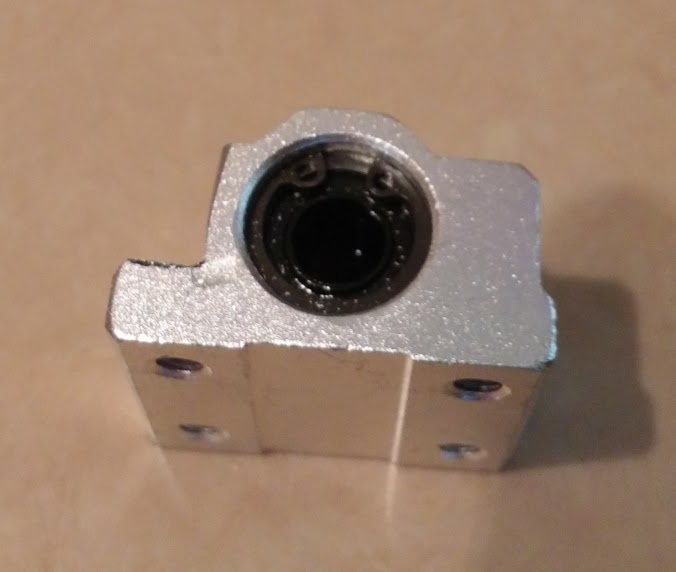
- Mark the bearing blocks where they should be cut and use a hacksaw, dremel, or other tool to cut out a notch in the bearing as pictured.

- Reinstall the bearing blocks using the reverse of the above directions.


Another option is to use 3D printed bearing blocks that already have the notch modeled into them.
- Download and print the bearing blocks. Choose from the following options:
- Bearing blocks for standard 8mm linear bearings (Wanhao duplicator i3) by tahustvedt – Basic bearing blocks to replace the stock blocks.
- Wanhao Duplicator I3 Adjustable X block and attachment by VincentPuthoff – Remix of above with integrated belt tension mechanism
- Wanhao i3 X-Axis Belt Tensioner by Heathicus – remix of the above with integrated or attachable belt tension mechanism.
- Remove the bearing blocks as outlined above.
- Use Snap Ring Pliers to remove the internal retaining clips. Remove the bearings from the stock bearing blocks.
- Install in 3D printed bearing blocks. They should have a tight friction fit and have no need for the retaining clip.
- Install the bearing blocks using the reverse of the above directions.

